How to Safely Assemble a Modulift Spreader Beam – A Step by Step Guide
A Modulift Spreader Beam is comprised of several components, making it simple to change and adapt your beam for a variety of lifting applications by adding and removing struts.
The components of a Modulift spreader beam include:
- One or more struts
- Two drop links
- Two end units
- Shackles (if purchased)

Strut

Drop Link

End Unit
The video below shows just how simple it is for you to assemble and change your Modulift Spreader Beam for different lifts. For further information on load v spans, bolt tightening torque and much more, please refer to the User Instructions which must be read when assembling the Spreader Beam. User Instructions are provided with every purchase of a Modulift spreader beam.
Using a spreader beam to perform a lift is an invaluable means of keeping the proper spacing for a load to avoid damage and maintain a safe level of tension on each sling during the lift. With a variety of lifting beams available, modular spreader beams are among the most versatile and easiest to assemble while occupying the least amount of space while not in use and during transit.
Today, we’ll show you how to take a spreader beam, whether you’re taking it out of storage or off the pallet after shipping to your site, and get it assembled and ready to go:
- Check the ID plates on each Modulift component to ensure the correct size is used
- Lay out the struts and end units in the correct configuration with the longest strut placed centrally and the shortest towards the end unit, laid on flats to prevent rolling
- Check that all pairs of flanges are clear from debris, sand etc. before connection
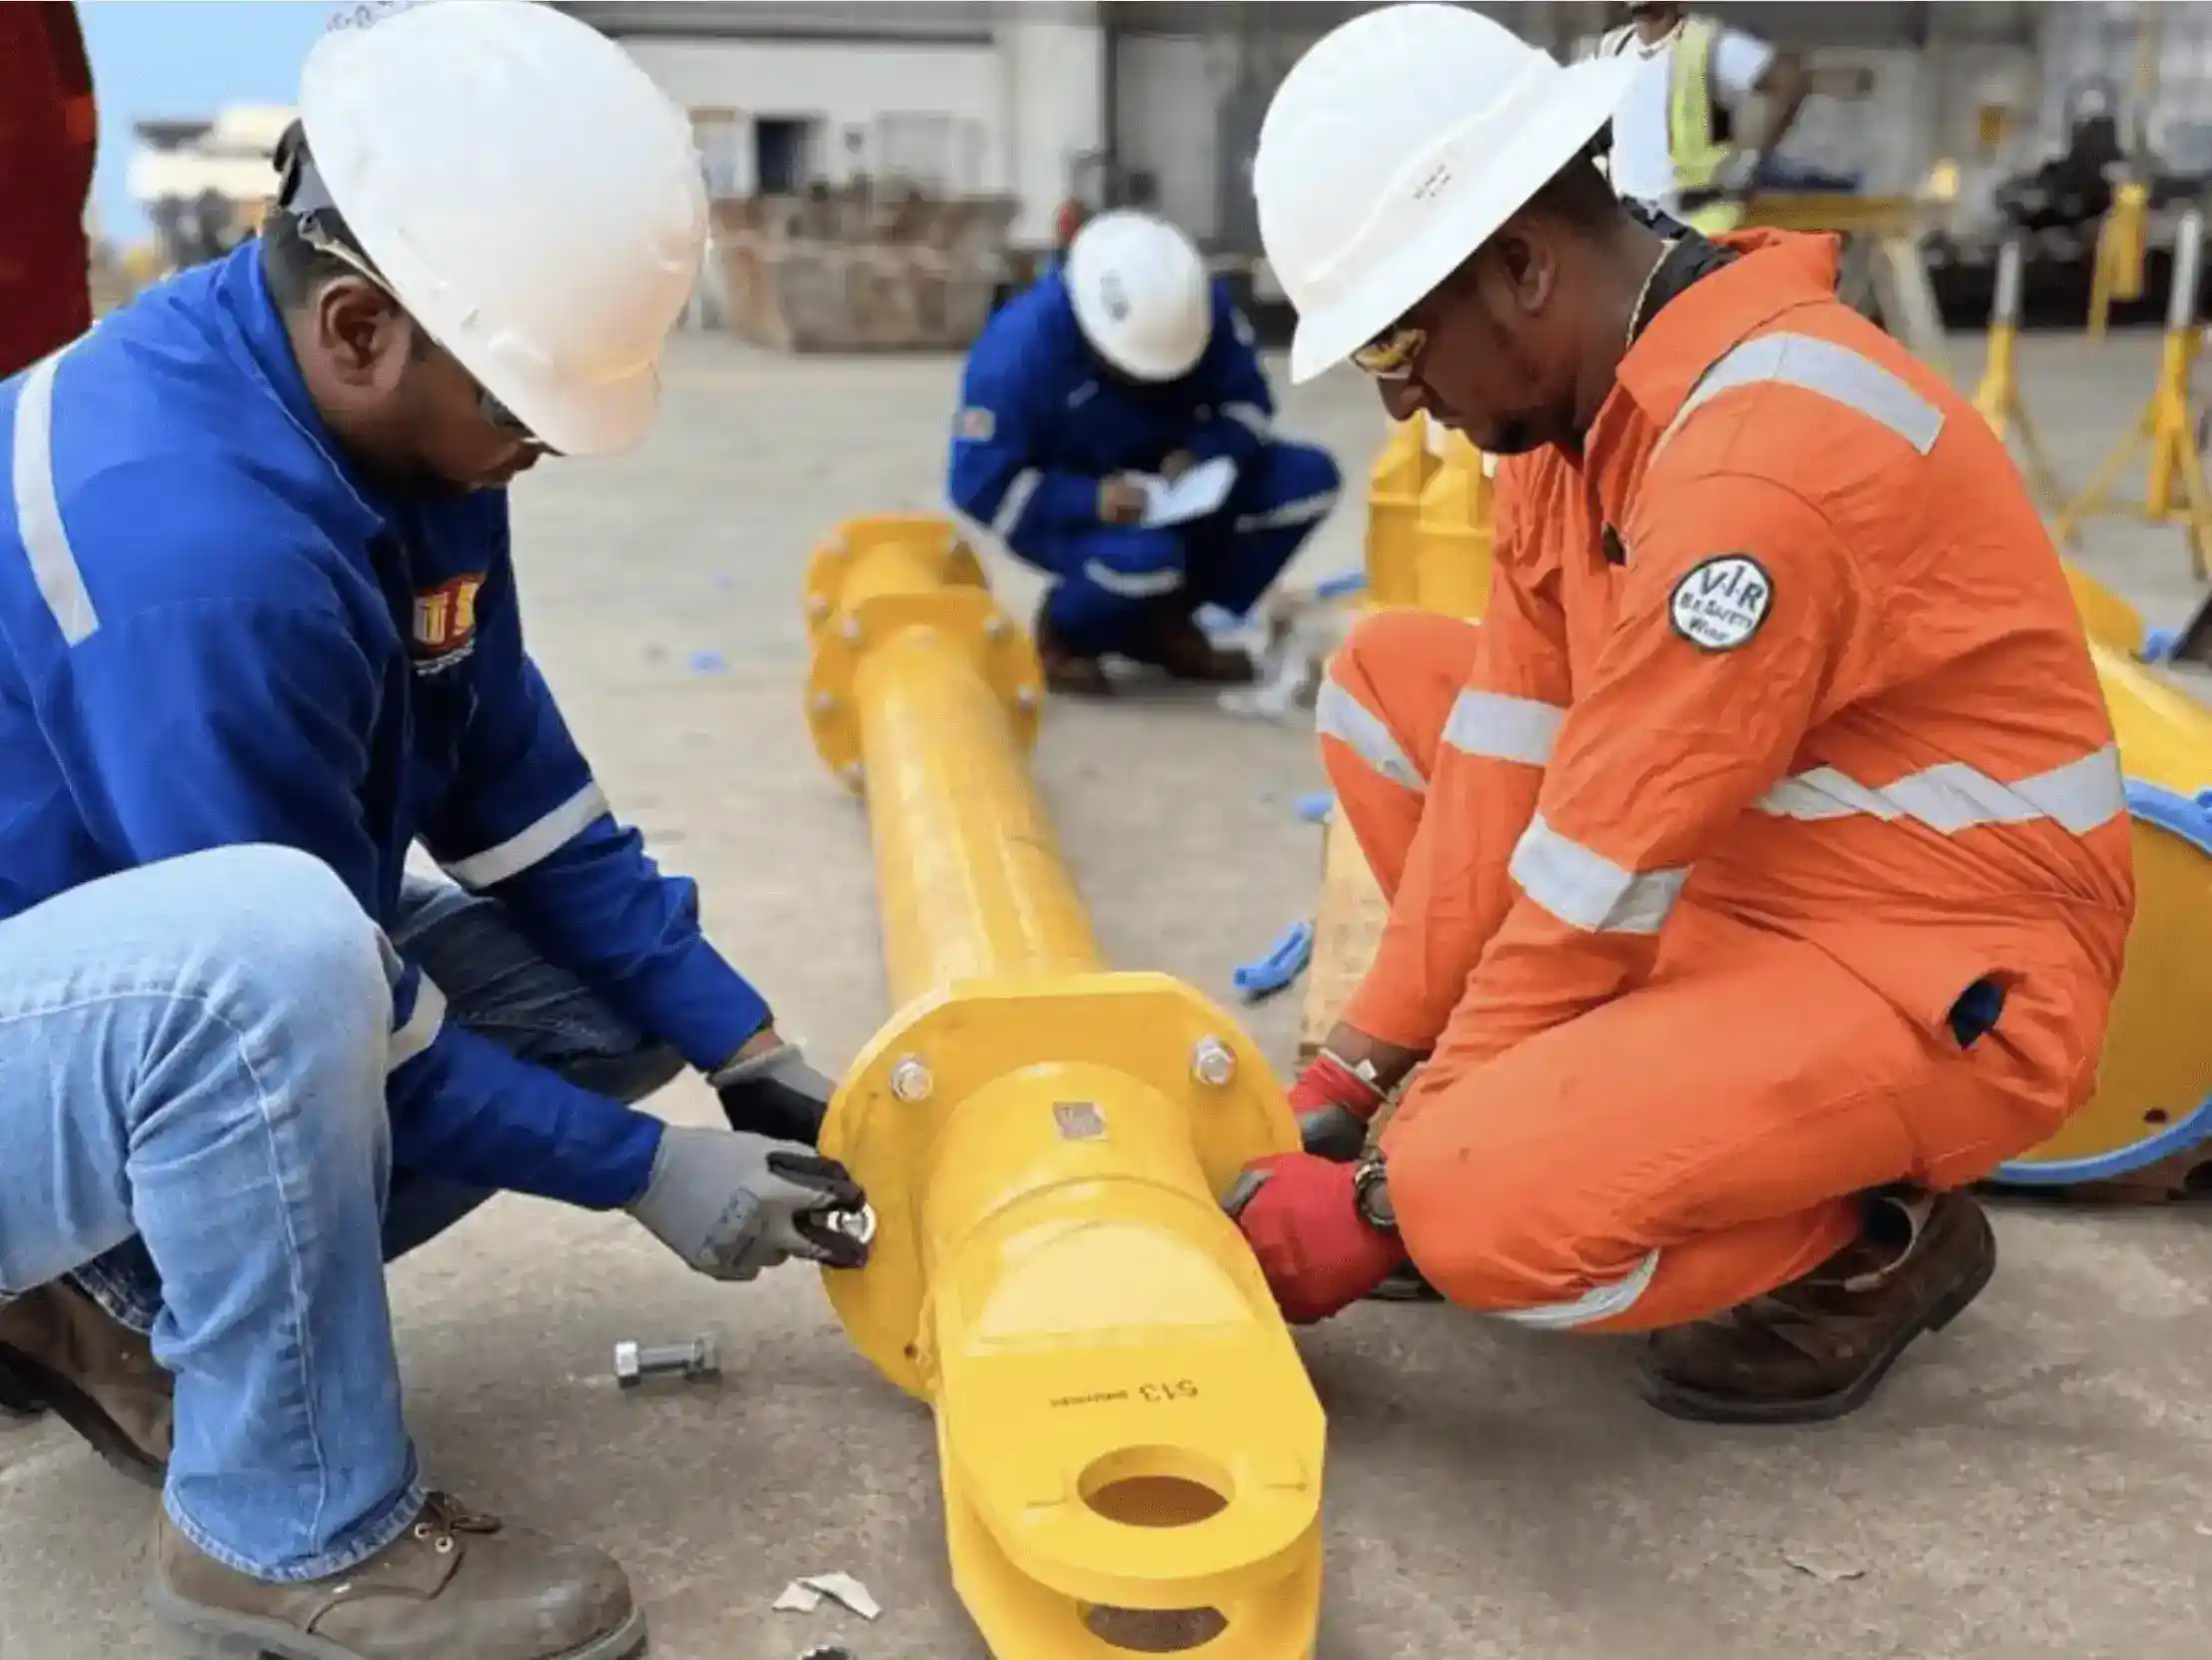
- Bolt the components together using bolts, nuts and washers provided
- Tighten the bolts to a torque. The number and grade of bolts is critical for the safe assembly of the spreader, particularly at longer spans. Refer to the User Instructions provided for the correct bolt tightening torque and the spanner size required
- Place drop link inside the jaw of the end unit, with the larger hole of the drop link lined up with the hole in the end unit
- Place a top sling onto the body of a top shackle, and put
jaw of top shackle over the end unit jaw. - Put top shackle pin through shackle, end unit jaw and drop link, and repeat for other spreader beam end.
- Attach free ends of top slings to crane hook.
- Attach lower slings and shackles to lower holes of drop links, and attach them to the load to be lifted.
- The assembled spreader beam and lifting rig must be thoroughly checked by a competent person prior to lifting.